Initializing the Plugin
Starting the plugin
The napari plugin has been redesigned in the newer version.
To activate the plugin, activate the napari-lattice environment in your terminal and type napari in the console.
The plugin is under Lattice Lightsheet Analysis
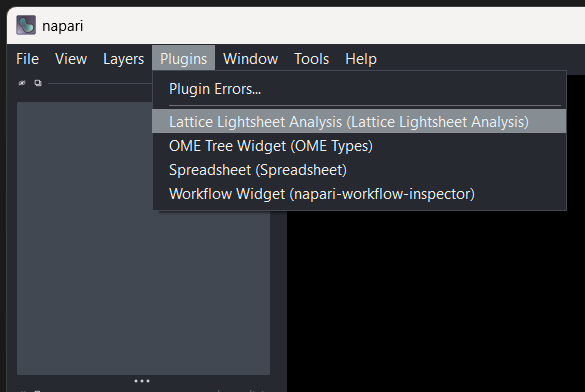
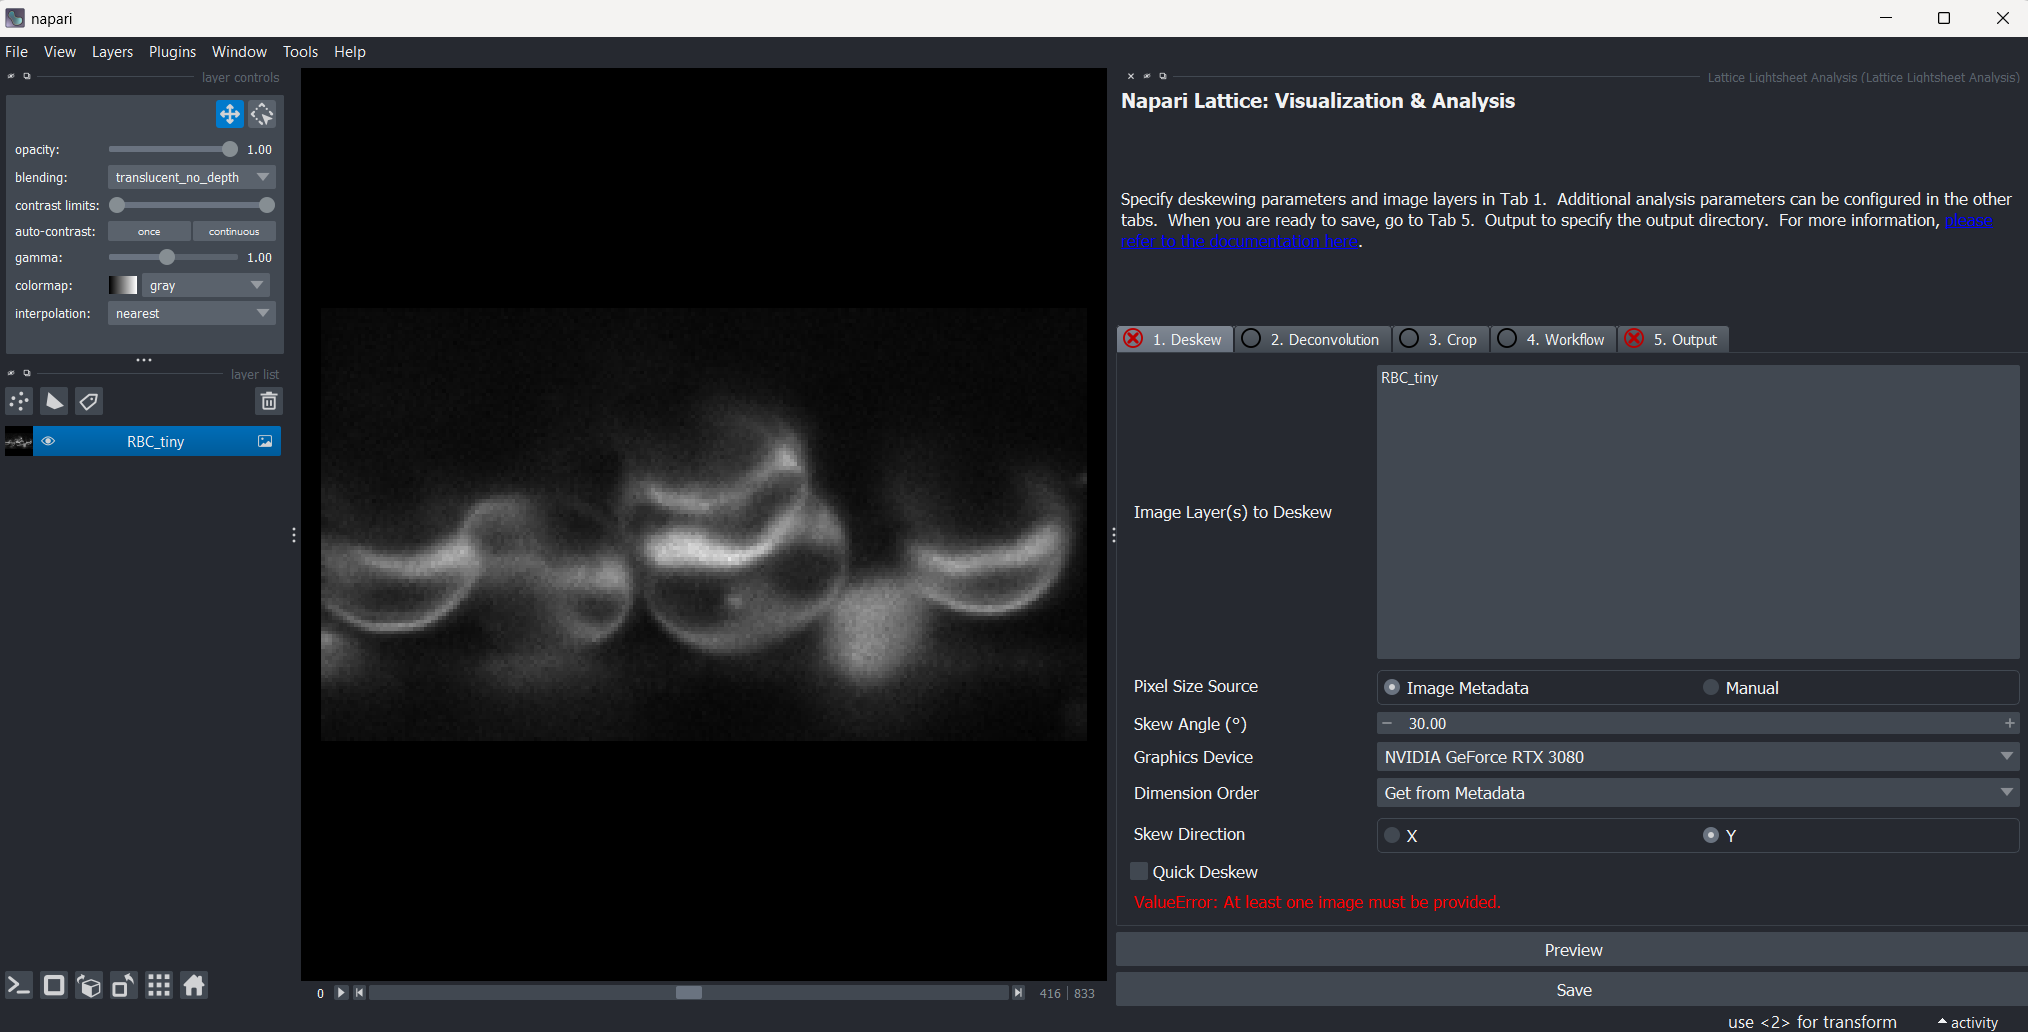
The plugin should appear on the right side. You may have to resize the window. Before an image is loaded, the 1. Deskew and 5. Output tabs show a red cross and the message "At least one image must be provided" — this is expected.
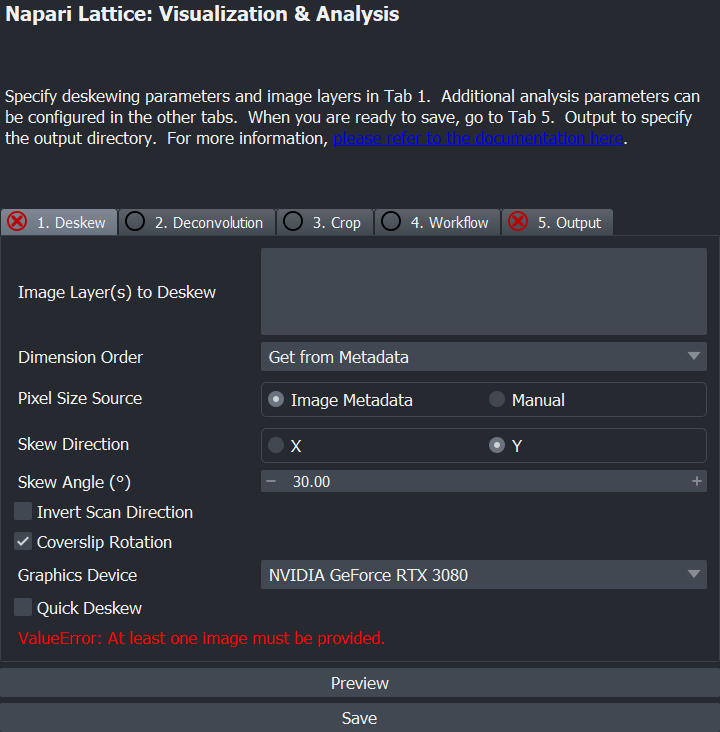
The functionalities with napari-lattice have been separated out into tabs:
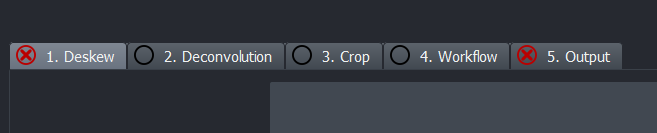
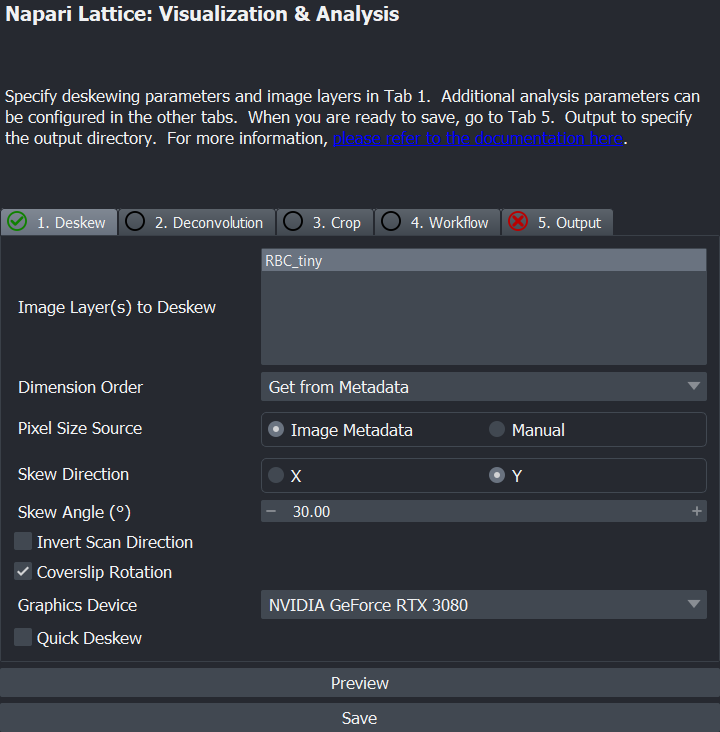
If its configured correctly, you should see a green tick next to the tab name, else you will see a red cross.
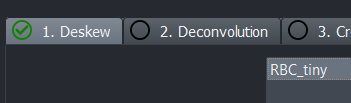
To load an image, drag and drop it into napari. You can get some sample data here. We are using RBC_tiny.czi as an example here.
Info
When opening a file, if you get a pop-up asking for preferred reader with czi files, select napari-lattice (which provides a BioIO-based reader)
Configuration
To configure any parameters, you can change the settings in the Deskew tab. Once an image is selected and its metadata is read, you should see a green tick on the 1. Deskew tab:
For information on how to use the plugin, click on Using the Plugin on the left menu of this page.